
As I mentioned earlier this week, my One Little Word for 2012 was PURSUE. It was a great word that I thought about reusing this year, but I chose PURPOSEFUL instead, but I’m not quite finished with last year’s word just yet.

You’ve probably seen this idea before. I saw it on Pinterest a long time ago (found here at A Beautiful Mess) and filed it away for the future. You take some previously existing artwork, use vinyl letters to spell out a word, phrase, quote, song lyrics, what have you, and then paint over the whole thing, leaving the words to remain on the canvas when you remove the letter stickers.
I really wanted to complete this project last year (like in January – I KNOW! I KNOW! Wrapping up loose ends, remember?) with my word. I thought it would be great to have a visual reminder of the word as I moved throughout my day. What should I do about this idea I have? PURSUE. What about this goal I’d like to attain? PURSUE. You know, I’d kind of like to (fill in the blank)……. PURSUE!
And I definitely DID use the word that way last year, but….
I never finished my project.
And like I said before, I think this will be a good word to keep in mind this year and for years to come. So another of my first PURPOSEFUL projects of 2013 is to get this done.
So on New Year’s Eve, while running errands, I hit up our local thrift store to look for a possible piece of art to redo. I dug through all the framed posters, empty frames, and 6th grade abstract art class canvases, but didn’t find anything I liked. (I thought about the canvases for half a second, but I could see puffy paint had been used for the top layer of the abstract, and I didn’t want to have to deal with that.) Didn’t find anything, and The Boy wanted to check out the toys, so we did that before leaving. On the way back through, I walked past the art section one more time, and I found this framed poster propped up on the side.

I was thrilled. Loved the flowers, loved the colors, and LOVED the price tag.

Because you know, if this project is a bust, I’m only out $2.00.

The first thing I did was wipe the whole thing down with baby wipes. (Yes, baby wipes. I use them all the time to clean up all sorts of things. And I’m not working with fine art here – it’s just a framed poster.)
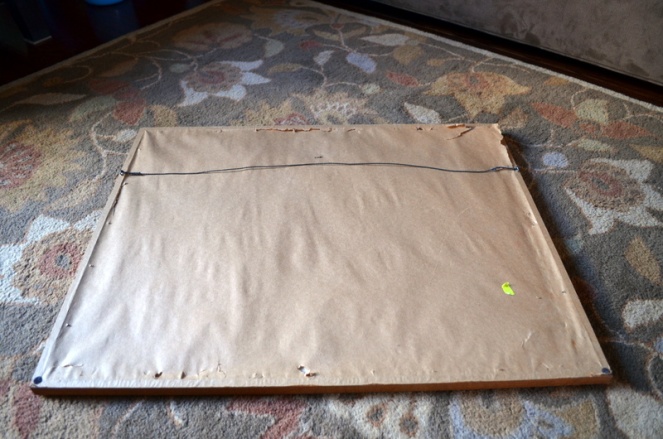
I thought I might reuse the orange mat, so I started dismantling the whole thing. I peeled the brown paper off of the back, which revealed all sorts of sharp, spiky metal things used to hold the backing cardboard in place. I have never seen these before. They look like diamond-shaped razor blades. I started bending them to take the back off, but when I did, they started falling out. I didn’t want to cut my hands on them anyway, so I just removed as many of them as I could and figured I’d fix it later.
I pulled the backing cardboard off and found the poster was adhered to the cardboard with a few pieces of tape. I left it that way for the next step, but I knew I’d have to fix that later too. I began to wonder if I should have just taken the 6th grader canvas instead. Nevertheless, I moved on.
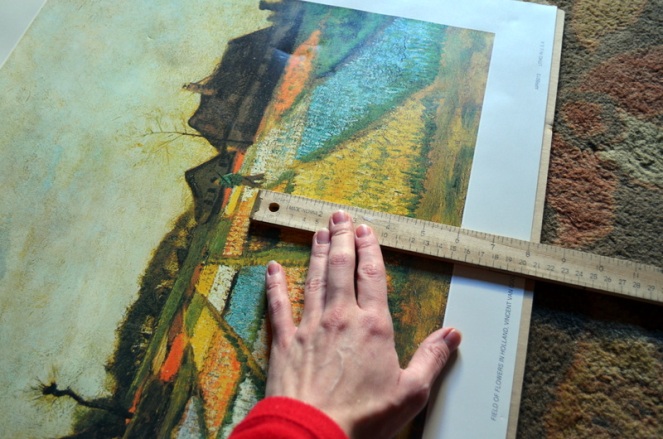
Next I measure out where the letters would go. I decided I just wanted the flowers to show, not the man walking through the field. (Is he carrying a gun? Regardless, don’t want him showing up in the letters.)
I drew a line just below his feet across the poster to mark where the letters would begin.

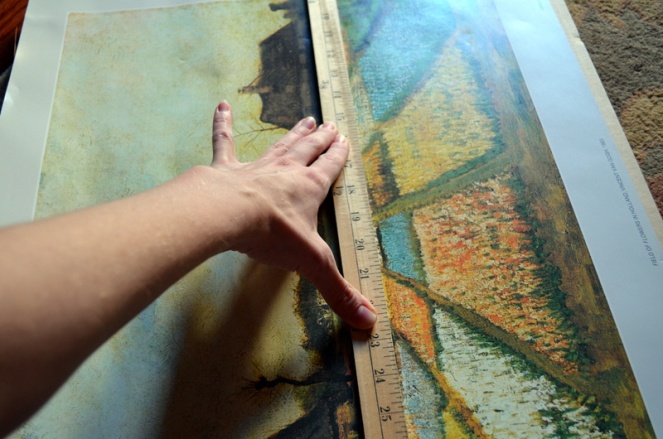
I cut the letters out of the vinyl set I got at Target. Obviously, I only used 6, so there are MANY possibilities for future projects with these letters. I measured out their spacing, mostly by trial-and-error; thankfully, the vinyl letters I got are restickable.

I carefully placed the letters on the poster and pressed down to seal them as best as possible so the paint wouldn’t seep.
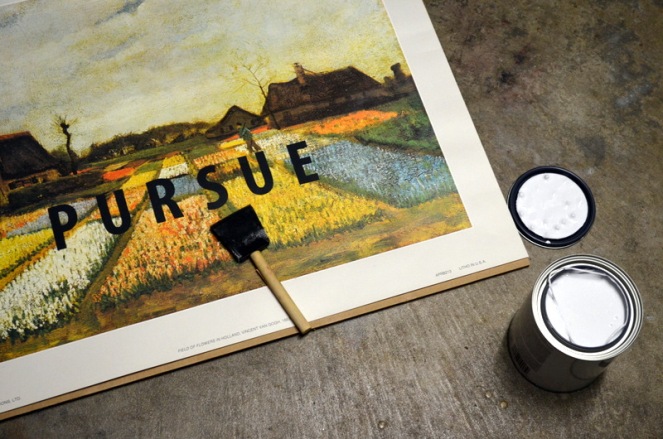
I took the poster to the garage and started painting. I had a quart of white flat latex paint, and I used a spongey craft brush to apply it. I made two swipes across the poster when that brush broke, so I dug out my nicer Purdy brush. Not what Purdy is intended to do, but the paint was drying quickly and I needed to move.
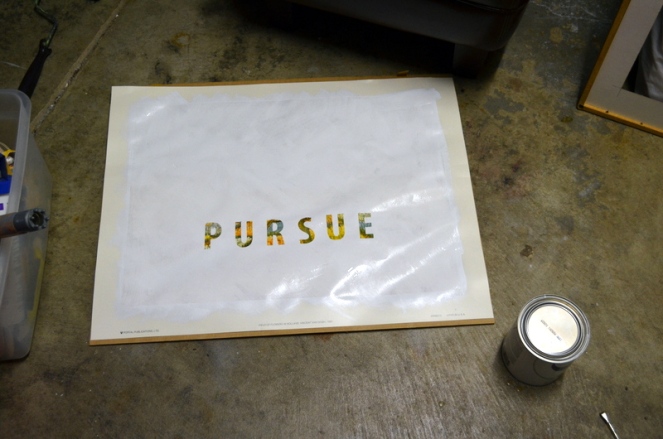
I slathered paint all over the poster, making sure the letters were covered well. Before the paint got too dry, I peeled away the vinyl letters. (This smudged the paint a bit, so I’ll have to go back to touch this up later.)

I let this dry and started working on the frame. I originally thought I would paint the frame white, but I like the orangey color of the mat and thought it would look better with a black frame. Luckily, I also had some leftover black paint in the garage. (I couldn’t remember why I had it, but Husband reminded me it was from the fanshades. Yes, I just made up that word.)

When I opened the paint can, I got worried because, even after stirring it with my trusty pencil (where are all of our paint stirrers?), it looked navy. Like, bright navy. But, I was undeterred. I slapped the first coat on and let it dry overnight. The Boy helped me paint a second coat the next morning, and that was enough. And it was truly black!
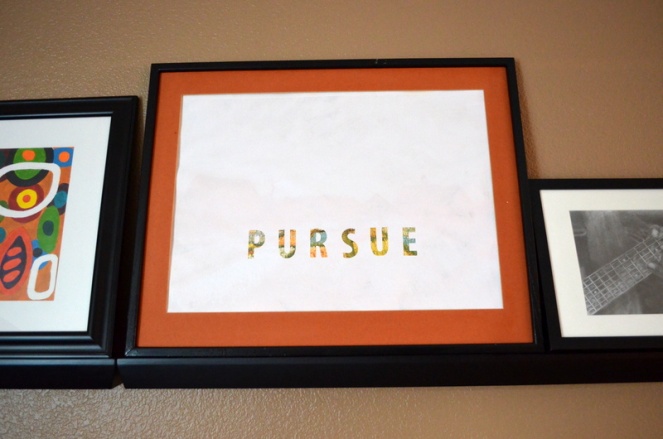
When everything was dry, I put all the pieces back together and tacked some little nails in the back to replace the razor-blade-holding-it-together-things from the back of the frame.

I was planning to hang it over my computer desk, but I played around a little, and I really like it on the shelf over the couch. Plus, it has a black frame like all the other pieces, so it fits it nicely.

And now, I can see my word every day and remember to put it into practice. (It will also hopefully remind me to not wait a year to complete projects. Ahem.)
————————————————————————————————

This post is part of a 31 Day series about improving my days by being more PURPOSEFUL.
You can read more about it here. You can find all the posts in this series here.

Love, Love, Love! I was planning on doing on these posters myself…hope it will turn out this good!
I want details – what will yours be?
So, I just came back to the site to get the template for the fancy to-do list. I’m making a notebook — bound indeed. Thanks for the help!
Good! Let me know how it turns out!
love it. :) i was also inspired by the project on interest and created a piece of art for my daughter.
Bruce song lyrics? :)
haha…no not bruce for kiefer. she loves the musical rent so i mod podged the background with sheet music from rent then spray painted over stencils spelling “no day but today” the name of one the songs and also kiefer’s motto. it turned out really cute…oh and i also bought a cheap but cute wooden frame at a thrift store and painted it black. i used the very ugly picture that came with it as my base. :) i am always looking for interesting wooden frames at thrift stores.
very cool. i think i may have seen this on your photo-a-day project last year, now that i think of it. i think we need to go thrifting together soon!
i agree! some day soon. :) i am making some fingerless gloves out sweater sleeves from a thrift store sweater today. all has gone very well but i need to trim the thumb length and i really don’t know how i am going to hem that little opening….hmmm
oops pinterest not interest.
so i love it too. where do i find those cool letters in target or michaels?
Target, with the school supplies. They are science fair letters, so there are also little tags with “Hypothesis”, “Conclusion”, etc. :)
Re Jan. 2nd post: Finally! Something you got from your Mother. Your love of books!!!!!!!
Did I tell you what I typed and taped on my kitchen cabinet? “Be thankful for the hundred little things that go right in a day instead of focusing on the three or four that go wrong.” I think my One Little Word for 2013 is THANKFUL.
I love it! I need to remember that on weeks like this (when everyone is sick) – there are many other things that are going right.
Nicole, you are getting so good at this, i wouldn`t be supprised some day, to see your name on a book cover, but what your Mom said,” I think my one little word for 2013 is Thankful” is the word for me.
Aww, thank you, Nana. That’s so sweet. “Thankful” is a great one!
Plus, “purposeful” contains all the letters in “pursue.”
Love that!